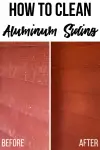
Read this before you power wash your aluminum siding! I'll show you how to clean aluminum siding and remove that chalky residue easily without power washing!
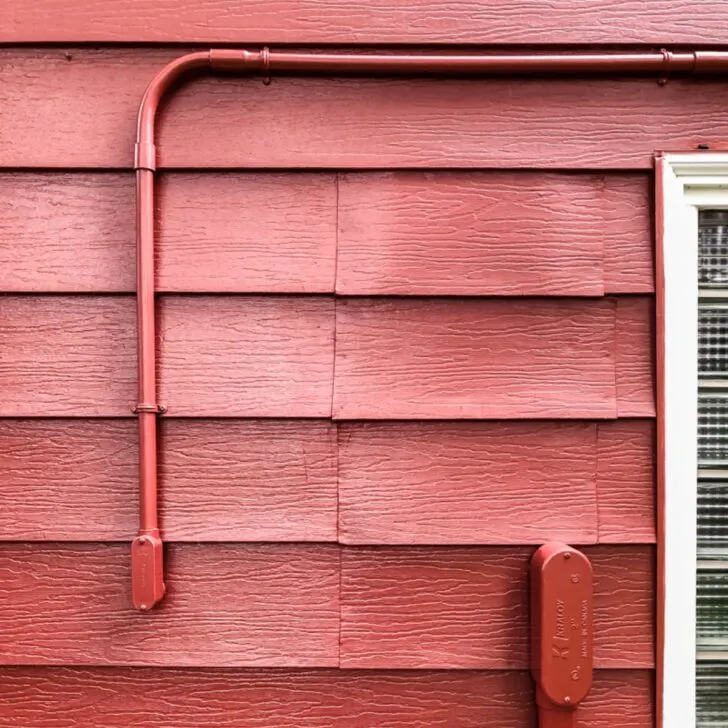
I'll admit, I hate our aluminum siding. It dents easily, and the red color is difficult to coordinate with outdoor decor.
But since replacing it isn't in the budget, we might as well keep it looking its best! I'll show you how to clean aluminum siding without damaging power washers or hard scrubbing!
This post is sponsored by Ryobi Outdoor and contains affiliate links for your convenience. Purchases made through these links may earn me a small commission at no additional cost to you.
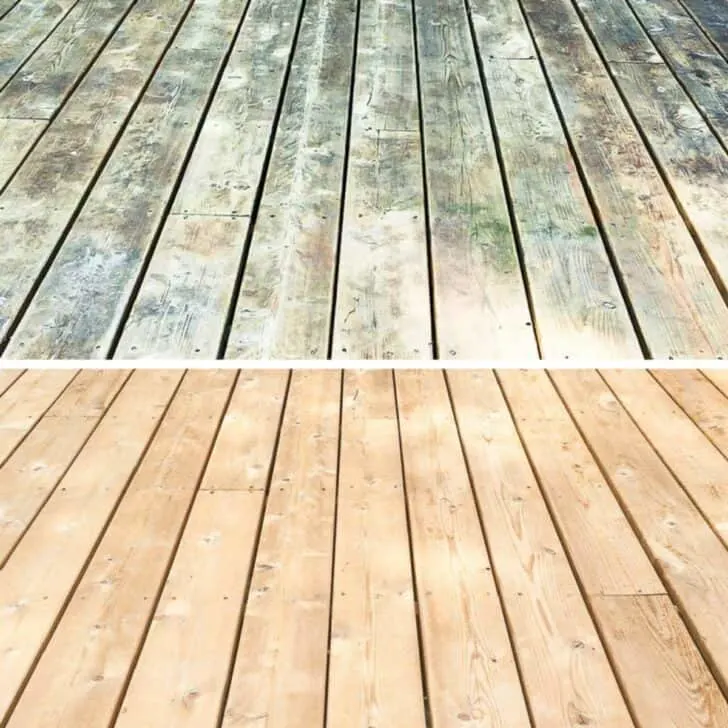
Prior to owning a house, I never thought about needing to wash the outside. That's what all that Seattle rain is for, right? 😉 But after cleaning the deck a couple years ago, the siding underneath was covered with bits of cedar wood pulp. Gross!
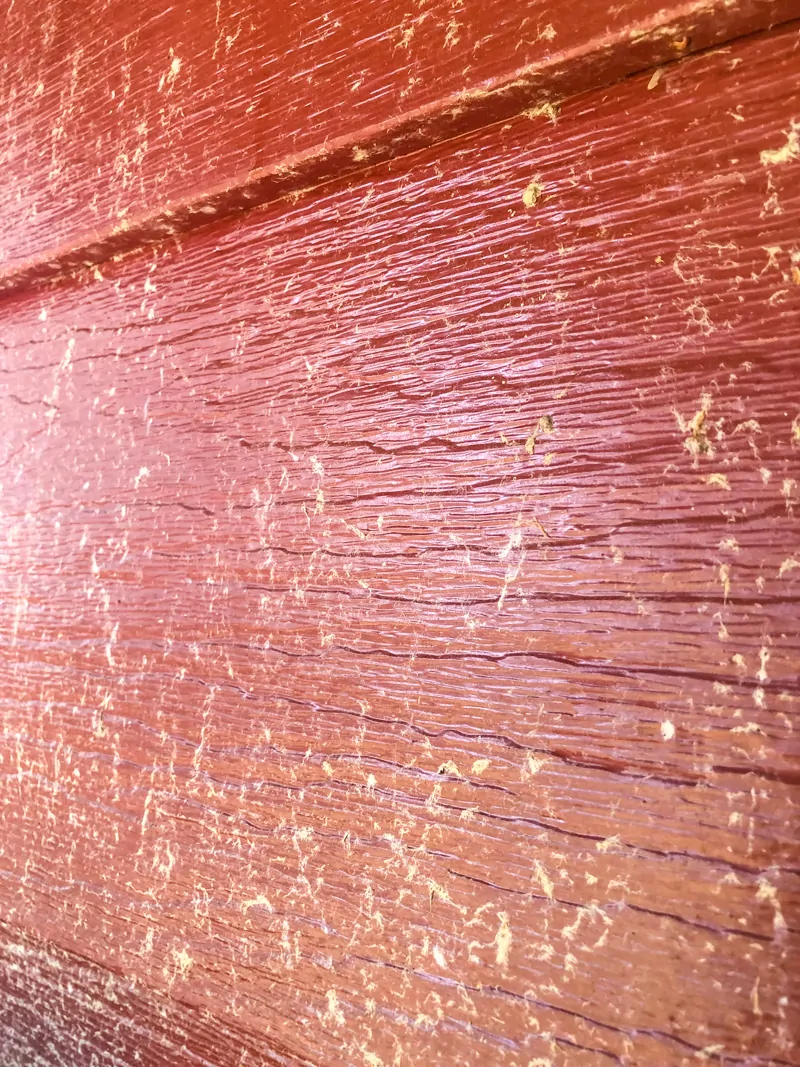
All that gunk, mixed with soot and ash from two summers of wildfire smoke, have really taken a toll on our aluminum siding. It dried and hardened into an ugly mess that I've tried power washing away, with minimal success.
I recently found out that aluminum siding oxidizes over time, giving it a chalky appearance. This oxidation can't be removed by power washing alone. In fact, power washing can leave streaks and make it look even worse! Check out this video to see what I mean.
I planned to place the new potting bench I just built along the back of the house. But first I needed to tackle those dirty walls! A few rare 70 degree March days pushed this task to the top of my to-do list!
Since power washing didn't work in the past, I decided to use a different tactic that turned out amazing! Here's how to clean aluminum siding and get it sparkling again!
Materials Needed to Clean Aluminum Siding
- TSP (Tri-Sodium Phosphate)
- Chemical sprayer
- I used Ryobi's new 1 gallon battery powered chemical sprayer. No pumping necessary!
- Siding brush with extension pole
- Garden hose and nozzle with an angled setting
- Protective gloves, safety glasses and face mask
- Plastic sheeting to protect nearby plants
Tips for Cleaning Aluminum Siding
Work in Sections
Break your work up into four foot wide sections. It's important that the cleaner doesn't dry on the aluminum siding, so only spray it on the part you're currently working on.
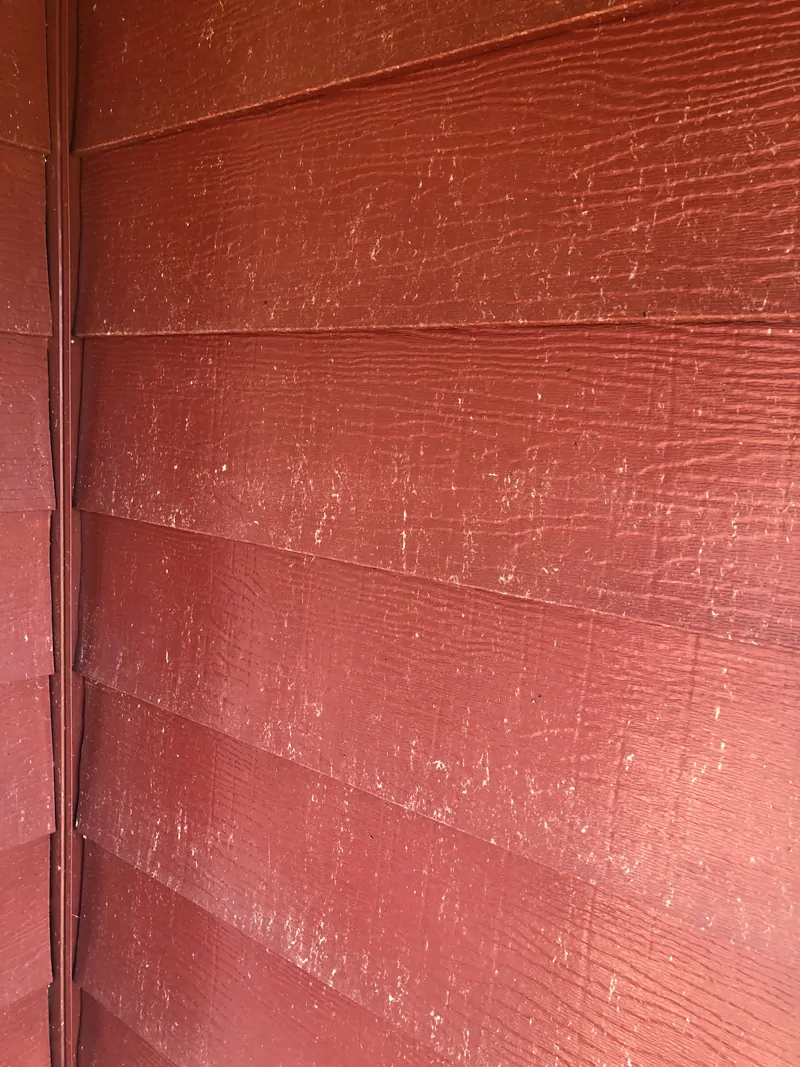
The side of our small garden shed was the dirtiest spot on the whole house, and was the perfect place to start. Believe it or not, I've power washed this wall several times, and it STILL looks like this!
Cover Nearby Plants with Plastic Sheeting
Luckily, this area of the house doesn't have a lot of plants nearby. But if you're working on a section next to a garden bed, you may want to cover the area with thin plastic sheeting while you clean to protect the plants from chemical residue.
Rinse the Siding First
Give your aluminum siding a good rinse with the hose first. I recommend using a spray nozzle with an angled setting, and working from the top down.
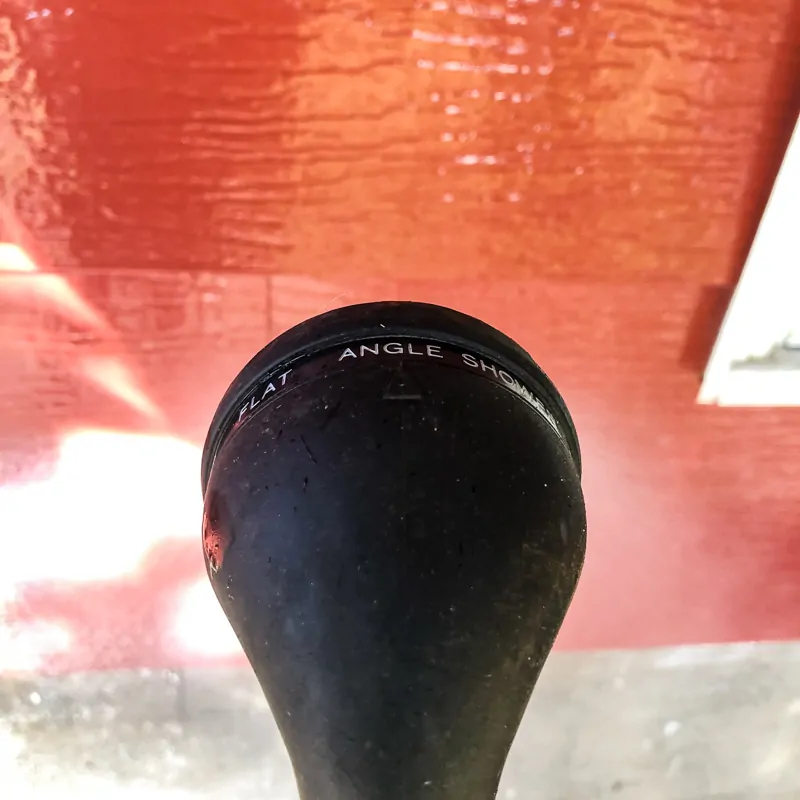
Spraying at a downward angle prevents water from getting under the aluminum siding and causing problems underneath. By mimicking rain flow, you know you're not damaging your house while you clean it!
Mix TSP with Warm Water in a Chemical Sprayer
TSP is a powerful cleaner that I use for all sorts of tough jobs, from scrubbing our tile floors and kitchen cabinets before painting to washing aluminum siding. It doesn't have any odor and doesn't suds up like other cleaners.
Mix 2 ounces of TSP into a gallon of warm water in a chemical sprayer. The Ryobi chemical sprayer cap doubles as a measuring cup to make this process easier!
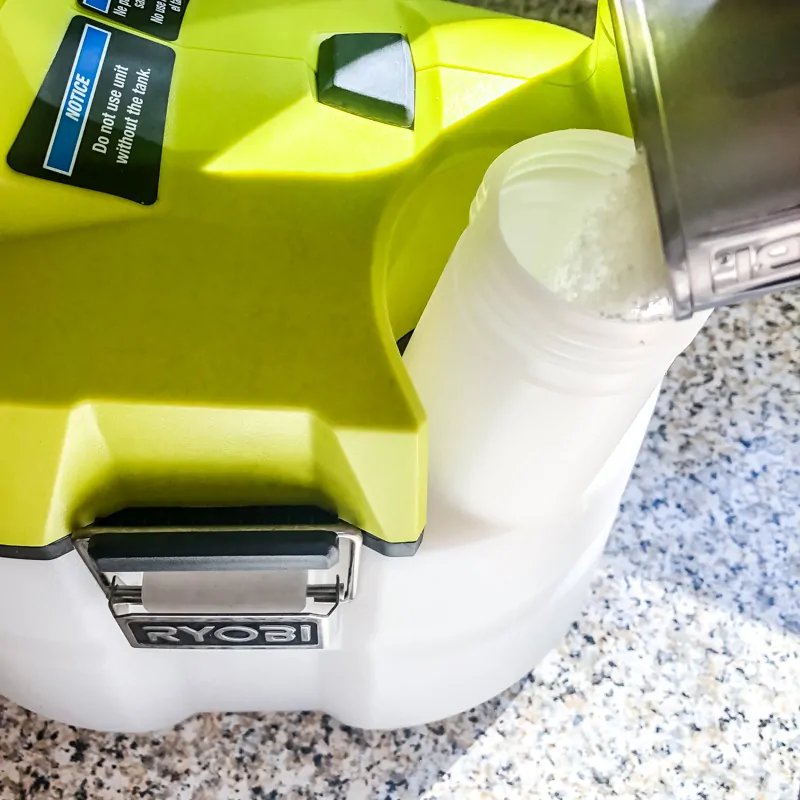
Close up the chemical sprayer and give it a good shake to dissolve the crystals into the water.
Spray TSP onto wet aluminum siding
Put on your protective gloves, safety glasses and face mask before you start spraying.
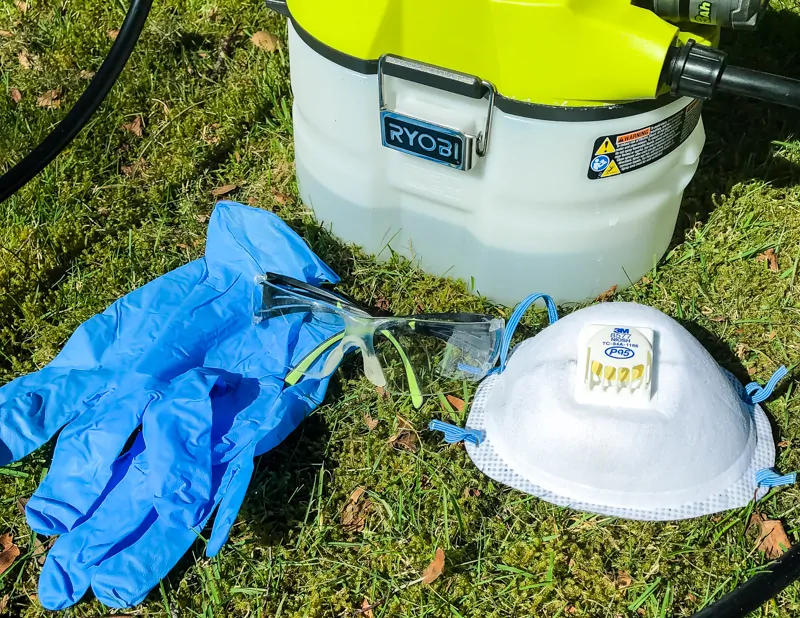
If you're using a traditional chemical sprayer, pump the tank until you feel resistance. With the Ryobi chemical sprayer, you just pop in a battery and turn it on!
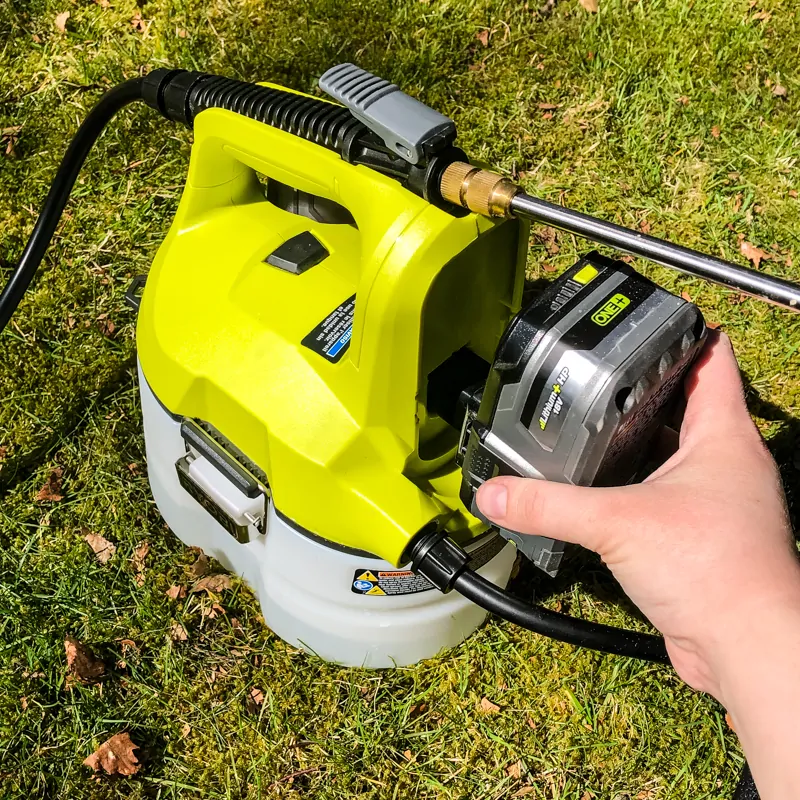
Make sure the aluminum siding is still wet from the rinsing step. Use the sprayer wand to evenly disperse the TSP mixture all over that section of siding.
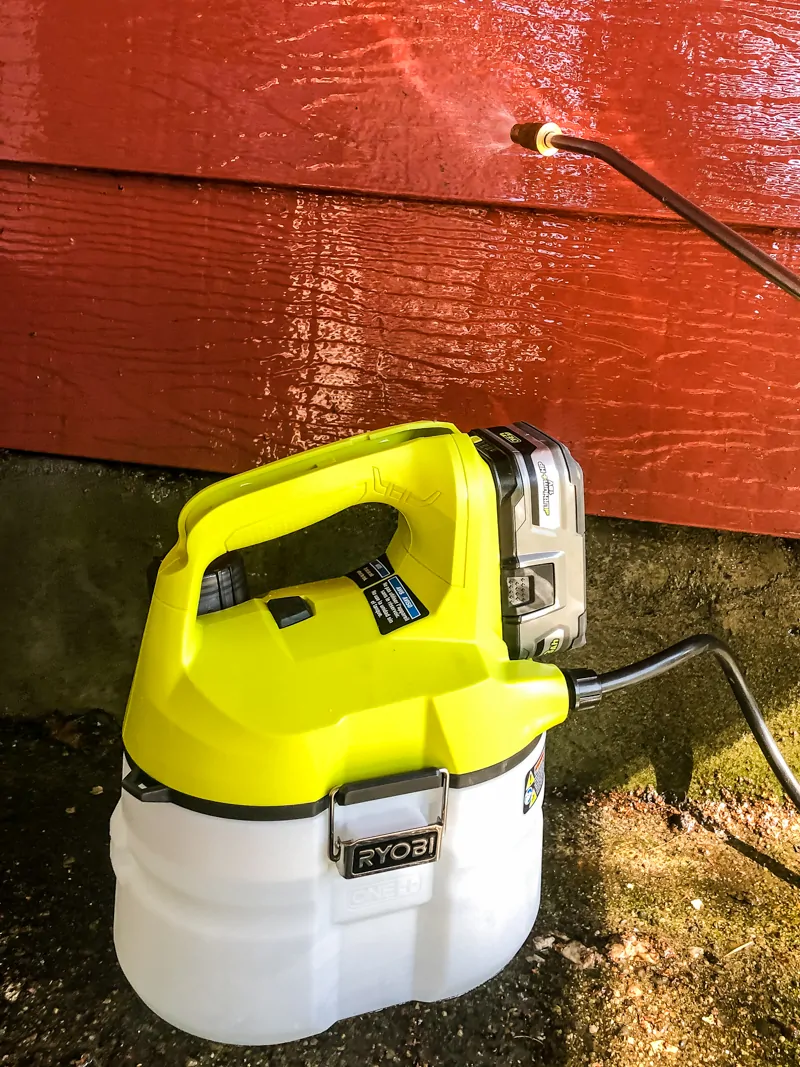
Let the cleanser sit for a couple minutes before scrubbing.
Scrub with a Siding Brush
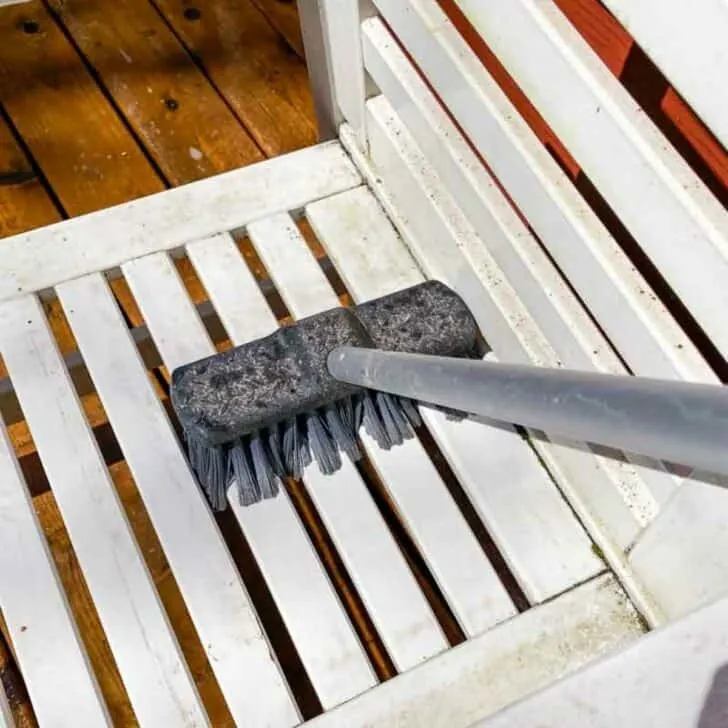
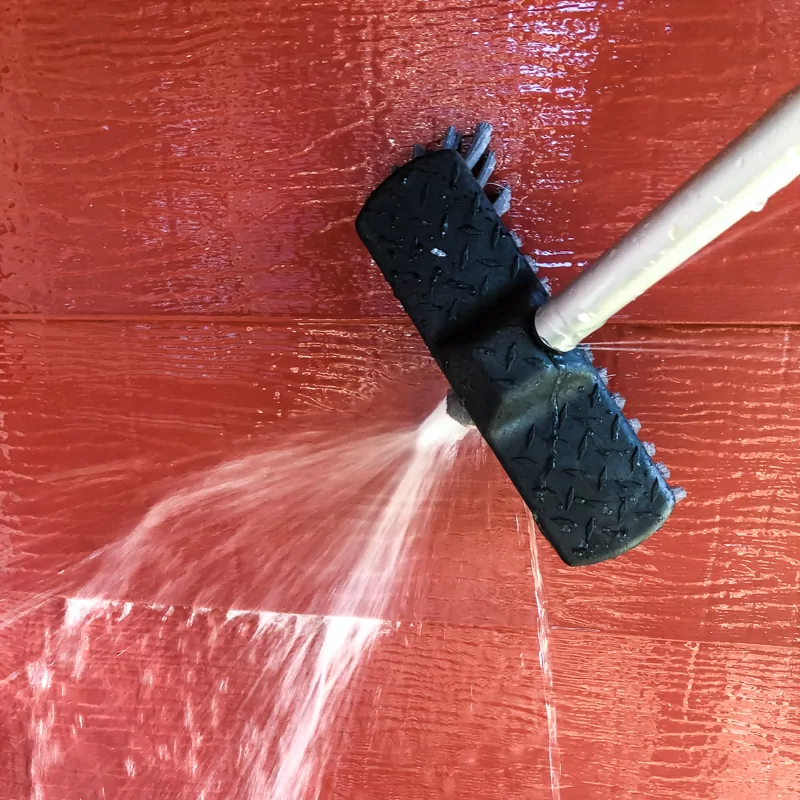
A siding brush has soft bristles that won't scratch the paint or gouge the aluminum like other hard brushes. It doesn't take much effort to scrub away the debris once the TSP has loosened it up!
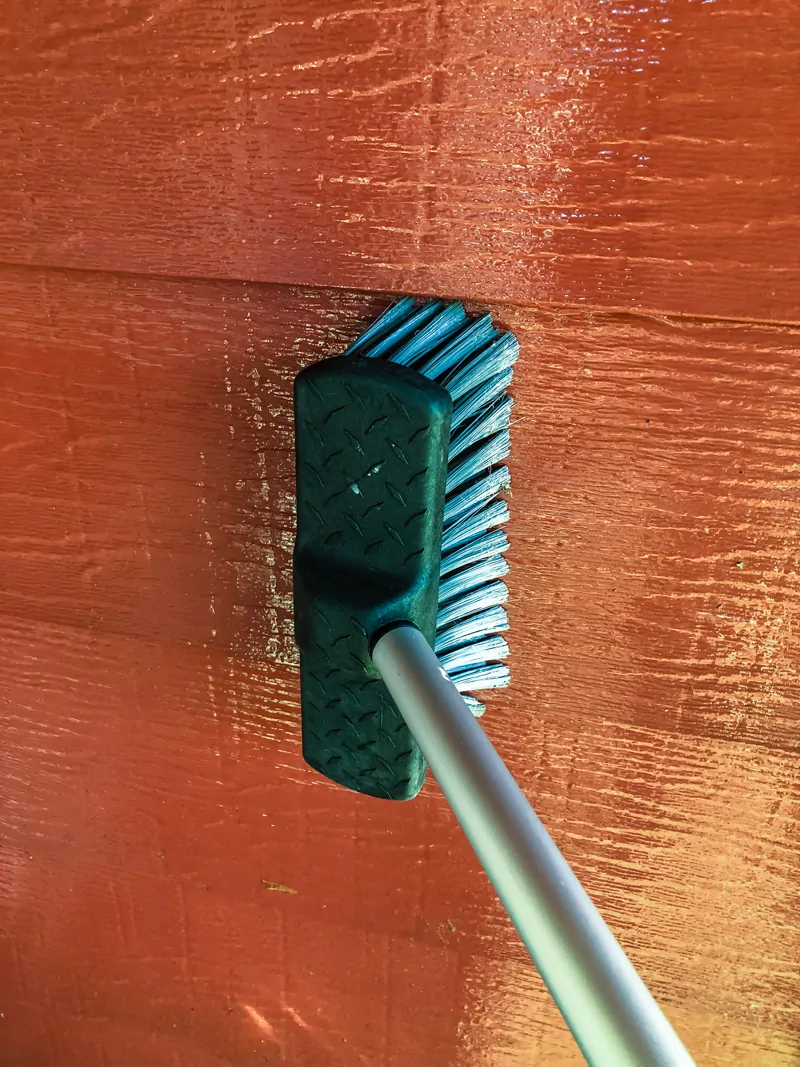
This particular brush has a hole in the end for water to pass through. Just hook the hose into the end of the extension pole and turn on the water! Make sure to brush with the water flowing down the siding to prevent moisture from getting trapped underneath.
Rinse and Let Dry
Give the wall a good rinse from top to bottom with the hose set on an angled flow, directing the debris down the siding.
After everything is dry, you may notice some spots you missed, especially under the lip of the siding. You can repeat the entire process, or just give those troublesome spots a quick scrub with the brush.
Enjoy Your Clean Aluminum Siding!
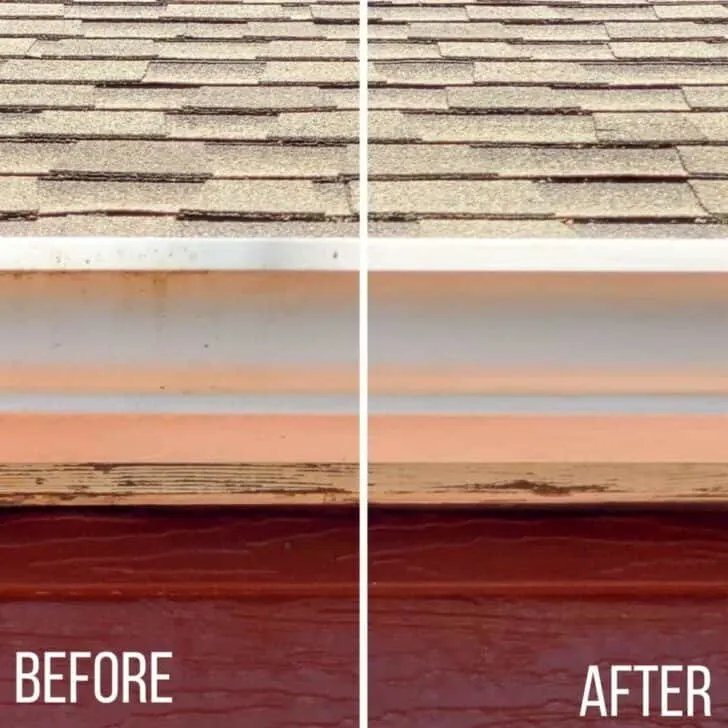
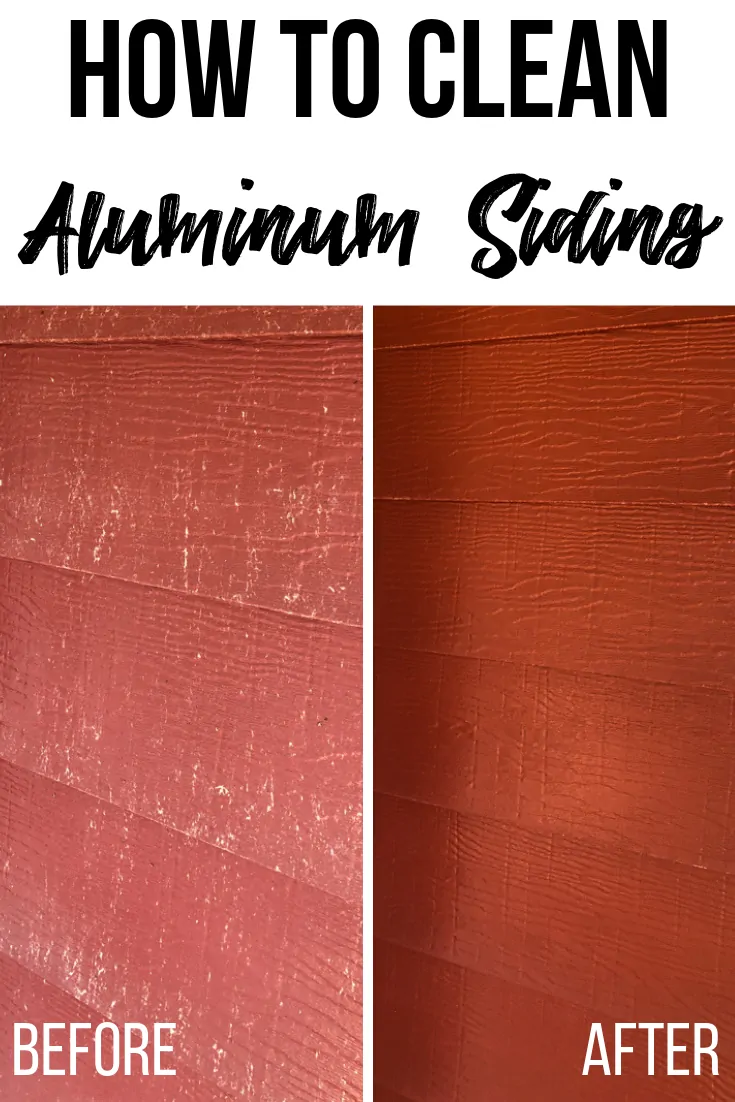
I couldn't believe the difference! What was once an embarrassing eyesore on the back of the house...

now looks like new!
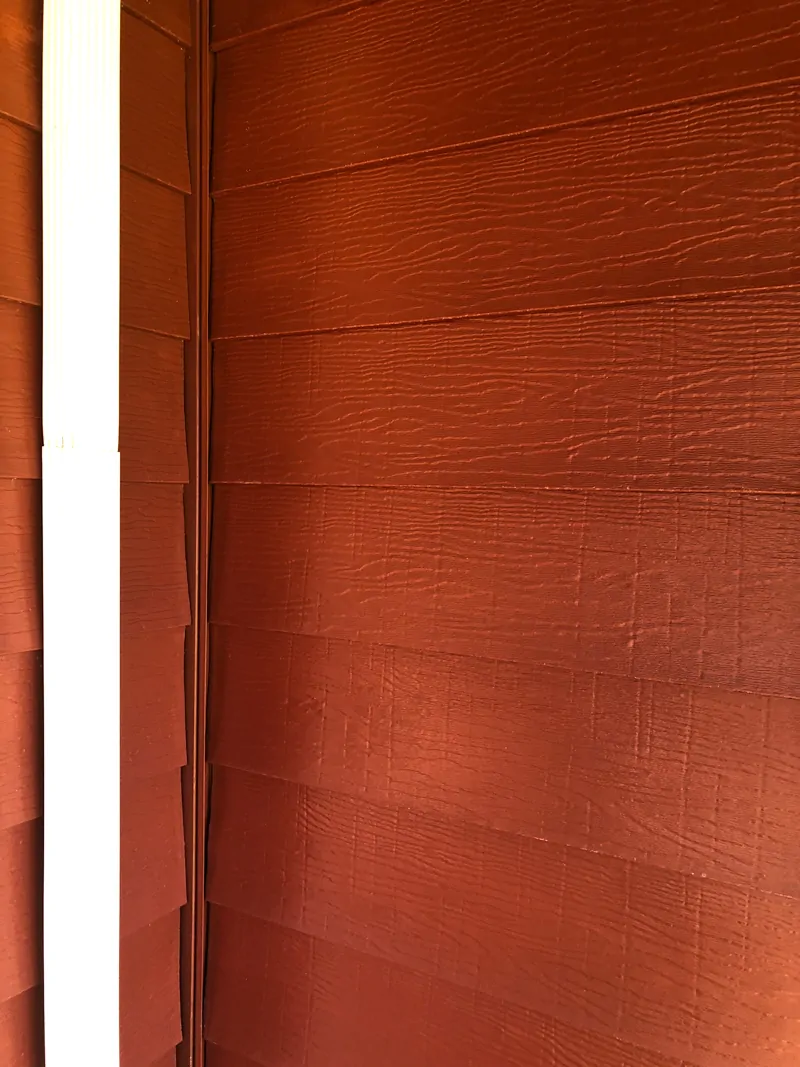
The chalky oxidation and years of dirt are gone, and now the red color is richer and deeper. Even the downspouts are looking sparkling clean! This is one of those projects that I really wish I had done sooner!
I'm planning to give this entire area of the backyard a makeover this spring, and this is the perfect start to my transformation. Be sure to check back often to see how it's coming along!

