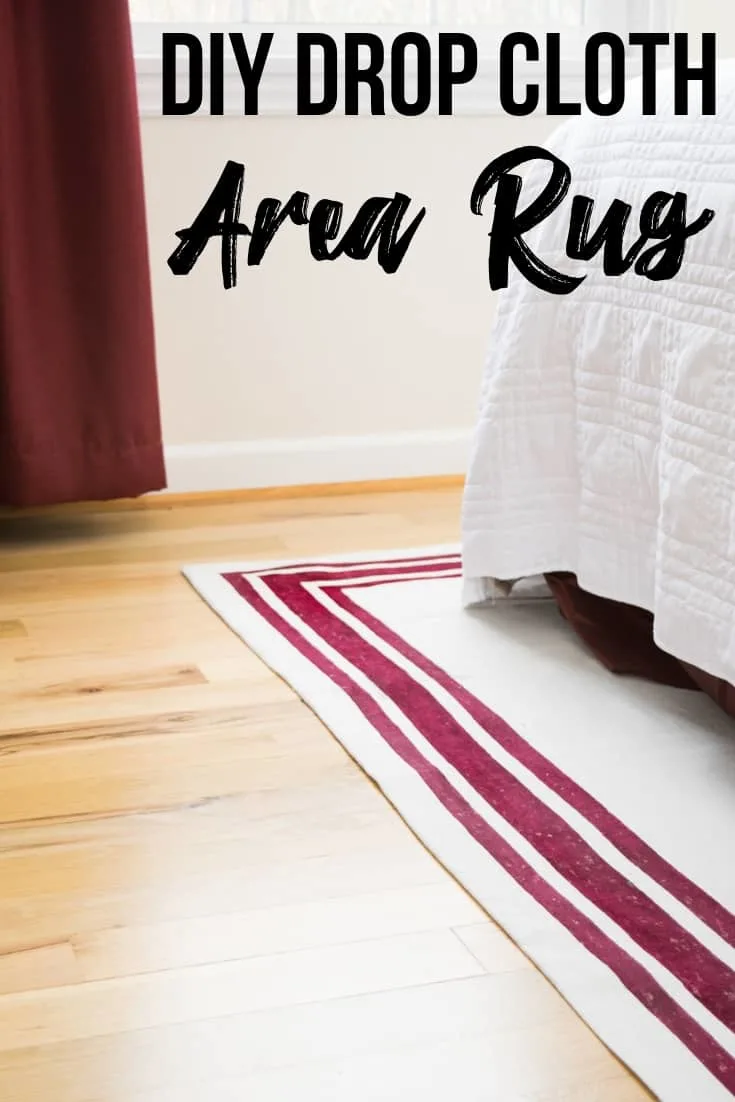
Learn how to make a rug from a simple canvas drop cloth! This DIY rug is so easy and only needs fabric paint and painter's tape for a clean, modern look!
Area rugs can be so expensive, and it's almost impossible to find the perfect one for your space. I decided to figure out how to make a rug myself, using just a drop cloth and fabric paint! This DIY rug is custom sized and coordinates with your decor for a fraction of the price!
This post contains affiliate links for your convenience. Purchases made through these links may earn me a small commission at no additional cost to you. Please visit my disclosures page for more information.
I searched for months for the right area rug to go in our living room, and I wasn't looking forward to repeating the process for the master bedroom. I'm a maker, not a shopper! 😉
The solution hit me when I was applying textured wallpaper to the wall behind the bed. The drop cloth protecting the floor from wallpaper paste drips was an exact color match! With a little fabric paint, I could make a rug that would fit perfectly with our existing decor!
Materials Needed To Make a Rug
- Drop cloth
- My drop cloth is 12' x 15' for an 8' x 10' rug. I'll be folding the extra length under to create a double layer around the edges, but you can use a smaller drop cloth too.
- Fabric paint
- DecoArt provided me with their SoSoft fabric paint in Dark Burgundy for this project.
- Large safety pins
- Fusible web tape
- ¾" painter's tape
- 1" painter's tape
- 1 ½" painter's tape
- Foam paint brush
- Area rug tape
How to Make A Rug with a Canvas Drop Cloth
Wash and Iron the Drop Cloth
Start by washing and drying your drop cloth. It will come out in a big, wrinkled ball, and your lint trap will be completely full!
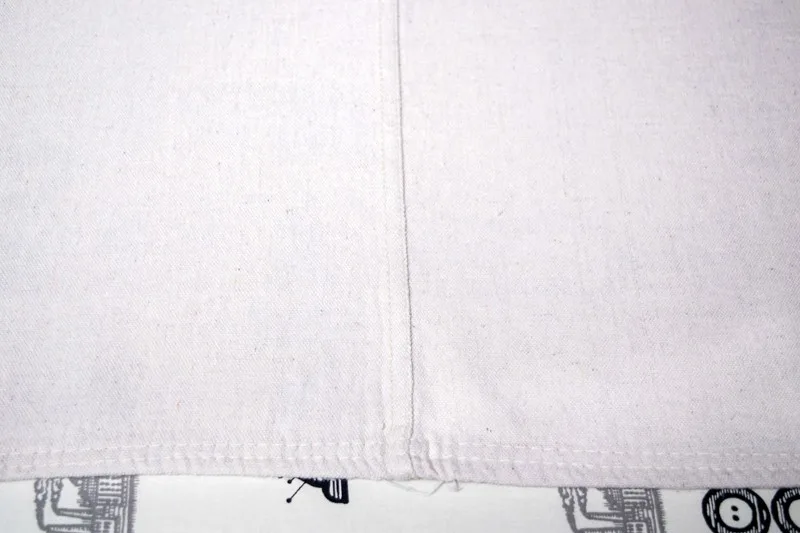
Larger drop cloths like this 12' x 15' size are typically smaller ones sewn together. Mine is made up of three 4' wide panels. You can use this to your advantage! These seam lines will serve as guidelines to create perfectly straight edges at the folds.
Hem the Edges with Fusible Web Tape
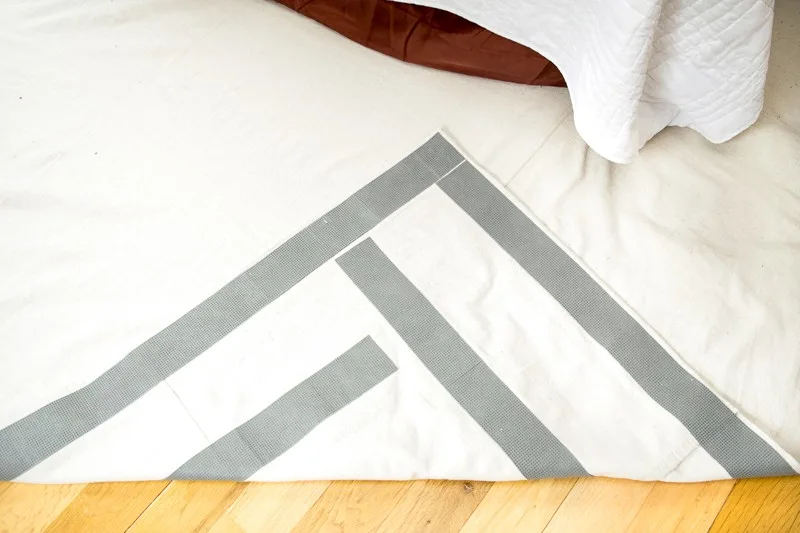
This DIY rug is going under our queen size bed. I wanted to double up the thickness of the rug around the perimeter of the bed, leaving a single layer under the bed where it won't be seen. Essentially, I made two foot wide hems around three sides of the drop cloth.
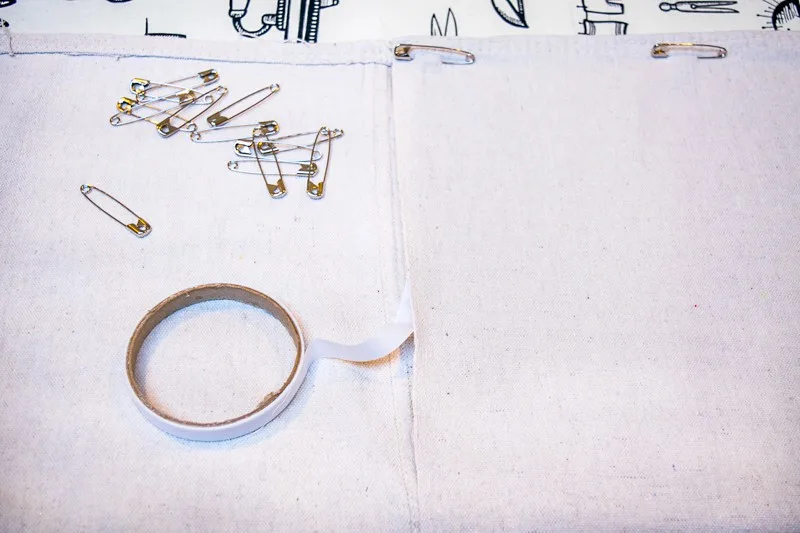
After ironing the first section of drop cloth, fold the edge over to meet the closest seam. Apply fusible web to the edge and iron until it sticks together. Then press the fold to make a nice, clean edge. I used large safety pins to keep everything in place.
Repeat this process for the other side. If you started with a 12' x 15' drop cloth, it should now be about 8' x 15'.
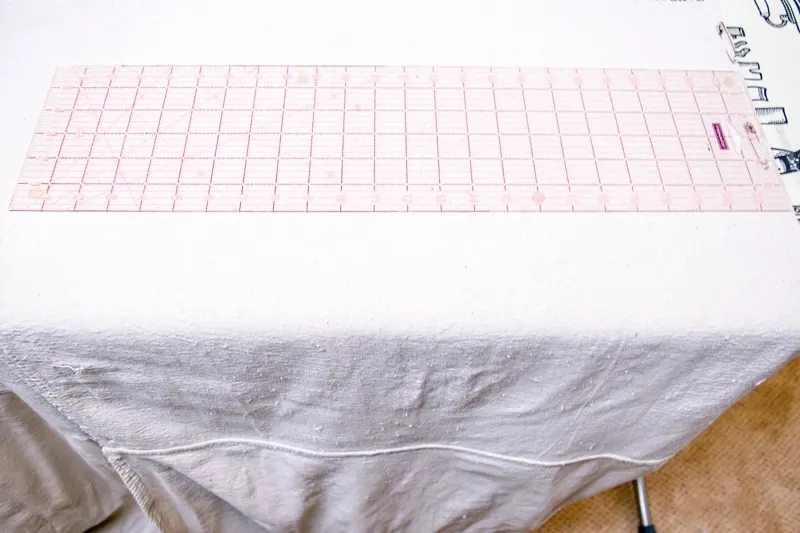
Now fold the top and bottom edges in towards the center to create the final size of your rug. I used my 24" quilting ruler to create even hems. The final dimensions of my DIY rug is about 8' x 11', which fits perfectly under a queen size bed!
Add Area Rug Tape to Edges
After spending far too much time at the ironing board, it's finally time to get to the fun part! Lay out the hemmed drop cloth flat on the floor and attach area rug tape to the underside. This will keep it from slipping, both while you paint and when you walk on it afterwards.
Use Painter's Tape to Create the Stripe Pattern
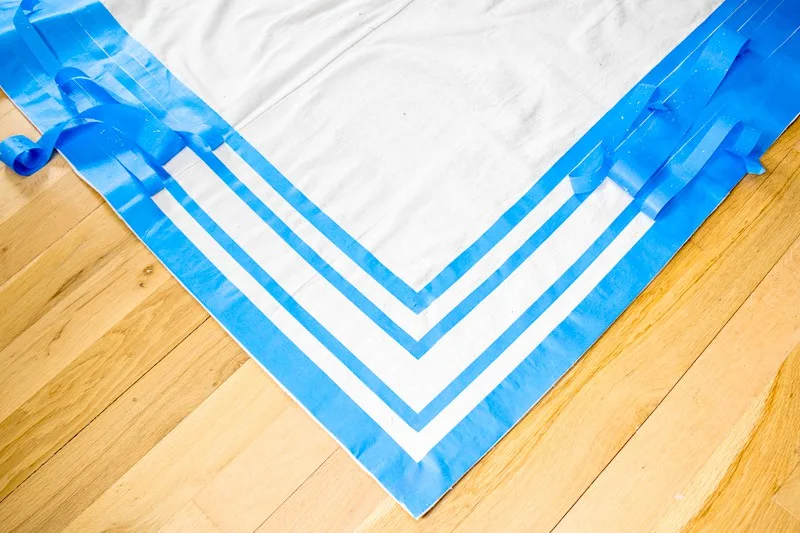
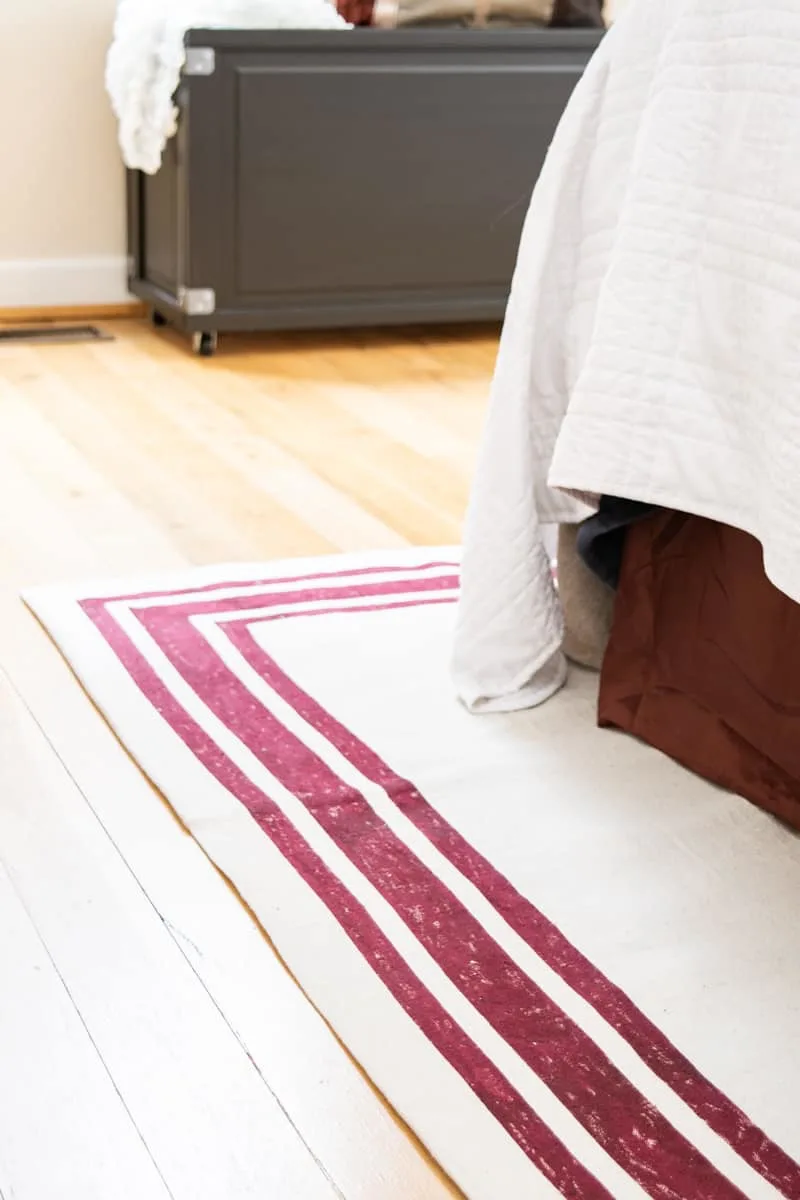
Next, break out your fabric paint, painter's tape, and a foam brush! I wanted a simple striped border in burgundy to match the rest of my bedroom decor. To make them as perfect as possible, I used painter's tape to create even spacing between the lines.
The widest tape went around the outside edge of the entire rug, except the side that will be under the bed and nightstands. Then I alternated various widths of tape to create the stripes as follows:
- 1 ½" (outside edge)
- 1"
- ¾"
- 1 ½"
- ¾"
- 1"
- Any
It might seem like a lot of taping, but trust me. This is a lot easier than marking out each line with a ruler!
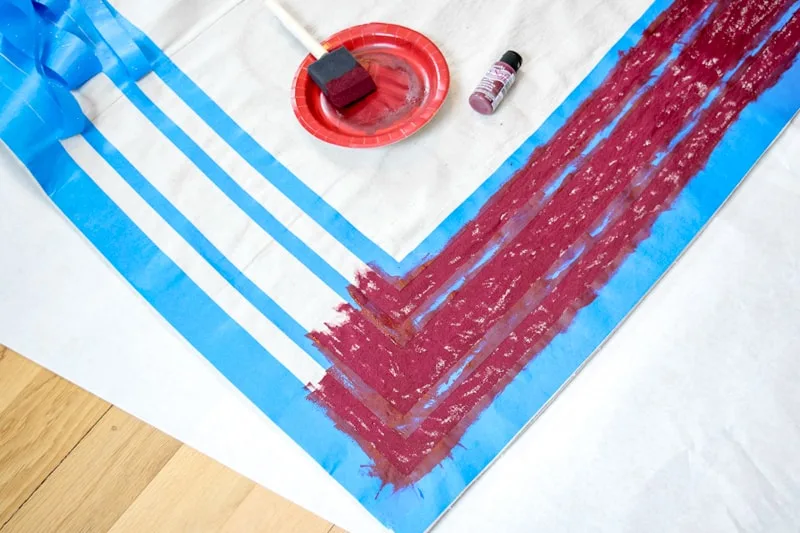
Now that you've taped everything off, it's time to remove a few of them to make the stripes. Peel off every other row, making sure all the remaining tape stays firmly in place along the edges.
Paint the Stripes
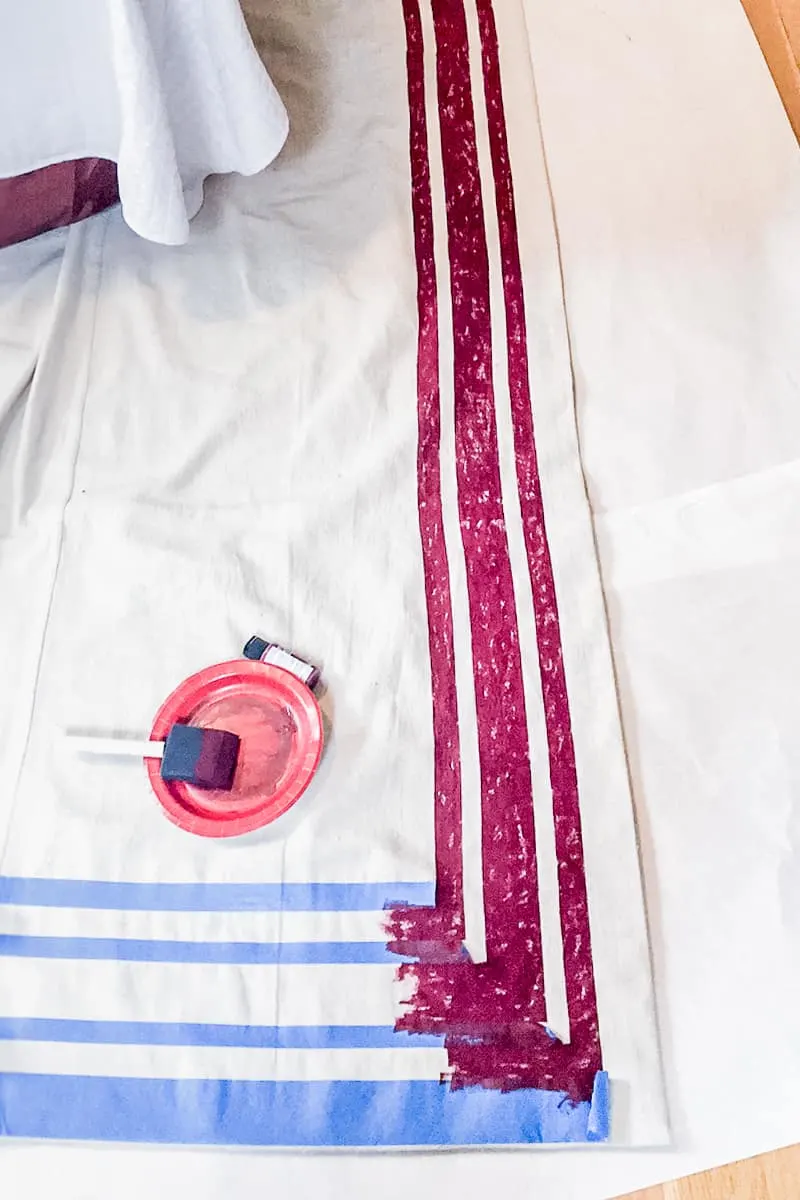
Now, we paint! Use the foam brush to apply the fabric paint from the tape edge to the center to prevent bleed-through. There should be enough layers of drop cloth to prevent the paint from seeping through to the floor, but you might want to protect it with another drop cloth or paper just to be safe.
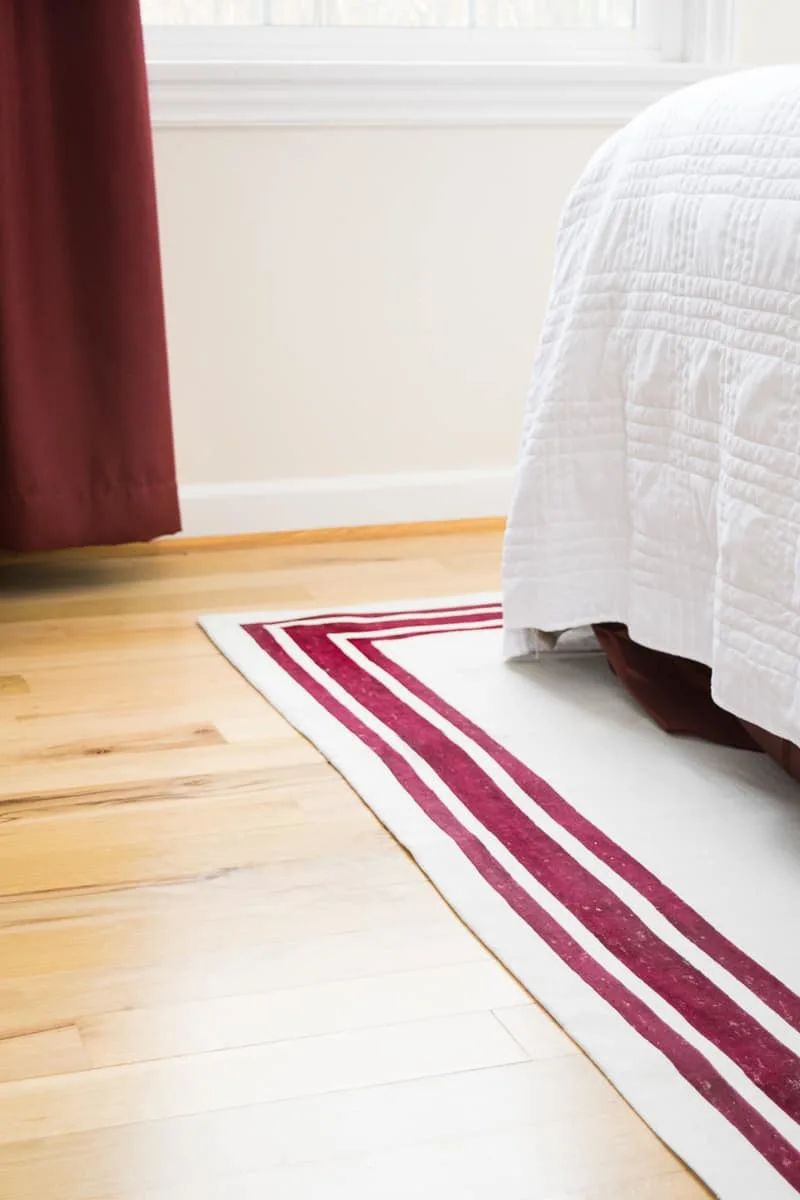
To give my stripes a worn, grainsack effect, I left some of the drop cloth color showing through. I was worried that I would need two coats to get a deep burgundy, but the SoSoft fabric paint kept its color with just one coat! For a rug of this size, I needed six 2 oz. bottles for three sides.
When you get to a corner, paint a few inches of the next side, then remove the painter's tape. Don't give the excess paint time to seep under the edge and mess up your crisp lines!
Move into Position When Paint is Dry
The fabric paint was dry in a few hours, and I moved my new DIY rug into position under the bed. It took a little tugging and pulling to get the sides of the bed even, but I was very happy with the result! I love how the stripes echo the lines of the blanket box I built and match the color of the bedskirt perfectly.
It's so nice to finally have something soft under my feet when I first wake up in the morning! The double layer of drop cloth around the sides of the bed makes it feel more substantial underfoot.
Finding a matching red can be impossible, especially when you're buying a rug online. Instead of dealing with the hassle of buying and returning huge area rugs that aren't the right hue, I could customize the paint to match perfectly!
Time will tell how well the drop cloth area rug holds up. I may end up sewing the edges if they become a problem, but so far it's working better than I expected! Not bad for a $30 drop cloth!
Check out these other DIY home decor ideas!

Elisa
Monday 17th of September 2018
Hi! I want to know what kind of fabric is drop cloth? is it like linen or muslin? Thanks
Vineta
Tuesday 18th of September 2018
They're thicker with more coarse fibers than linen or muslin. Maybe cotton canvas?
Theresa Huse
Wednesday 29th of August 2018
Love this idea. I made a tee pee from drop cloth before. They also make great curtains. Love how well your diy turned out. Thanks for sharing this with us at the Inspiration Spotlight party. Pinned and sharing.
Jann Olson
Friday 24th of August 2018
I love drop cloth and grain sack stripes! I have made rugs on canvas before they held up quite nicely. I think it's going to be just great. The edges on mine eventually started to turn up. Thanks for sharing with SYC. hugs, Jann
Chas
Wednesday 22nd of August 2018
I love this, it's so beautiful! Thanks for sharing on To Grandma's House We Go!
Shirley Wood
Wednesday 22nd of August 2018
I love a good drop cloth project and this is one! I really like the stripe around the edge. Rugs are indeed so expensive! It's crazy. Love this. Thank you for sharing your creativity with us at Merry Monday.