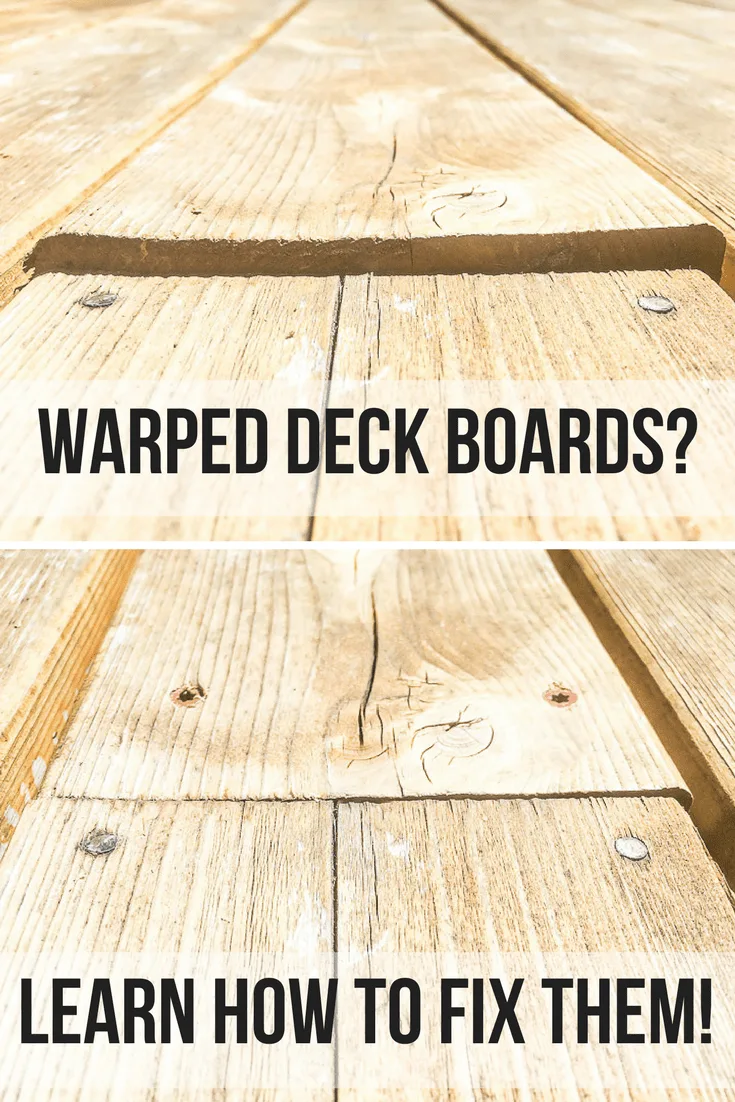
Learn how to fix warped deck boards yourself! This tutorial shows you how to straighten deck boards that are cupping at the ends.
After a few years, even a new deck can start to show wear and tear. These deck repair tips will help keep it looking its best for years to come!
When we bought our house, the original deck was in such bad shape, you could stick a screwdriver through the joists! The new deck is double the size, and is made of cedar.
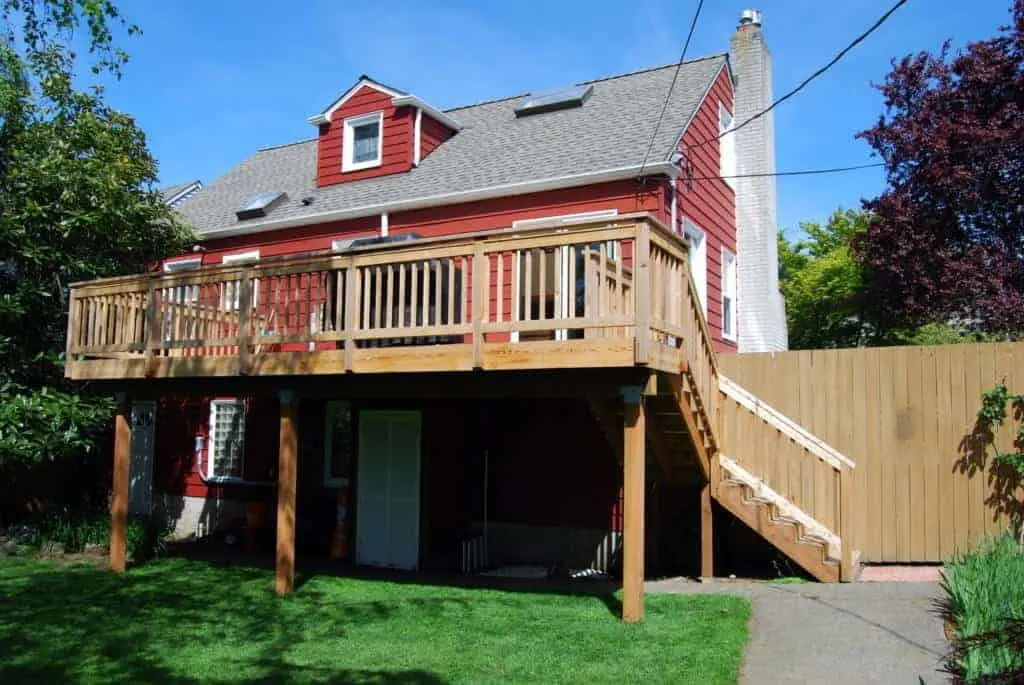
The next summer, after the cedar had "weathered" for six months, I took on the task of staining the deck. I learned a LOT from that experience, and vowed that next time it would go smoother.
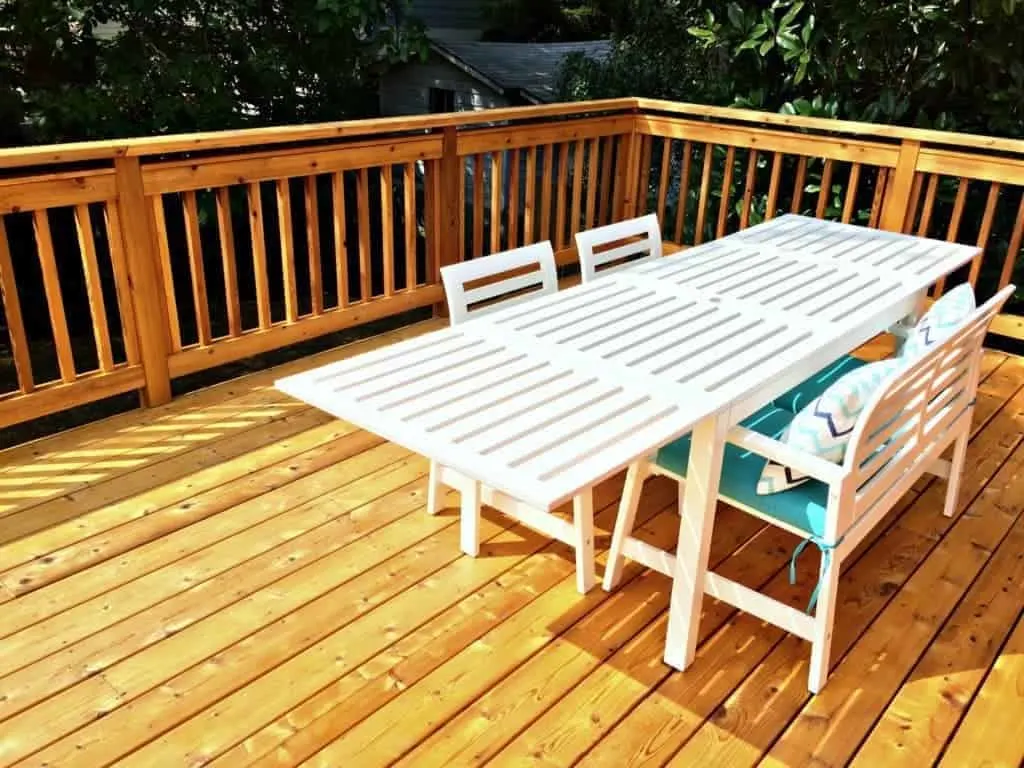
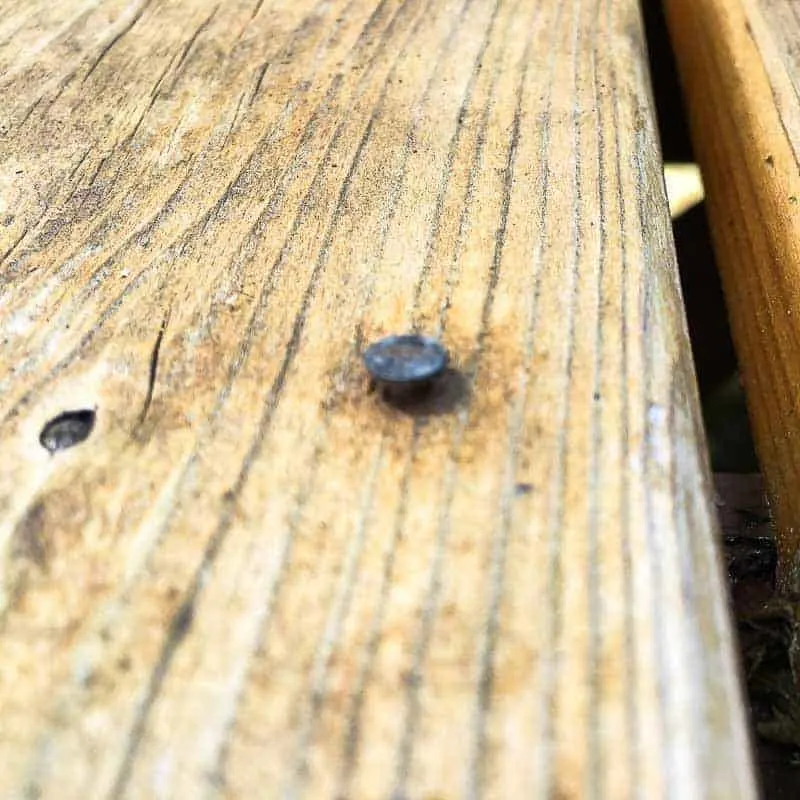
Two years have gone by, and the deck is looking kinda sad. The light stain color has turned a dirty yellow and scuffed away in the high traffic areas. Nails are popping up everywhere, making walking on the deck in bare feet a painful experience.
And some of the boards are cupping up at the ends, creating a tripping hazard.
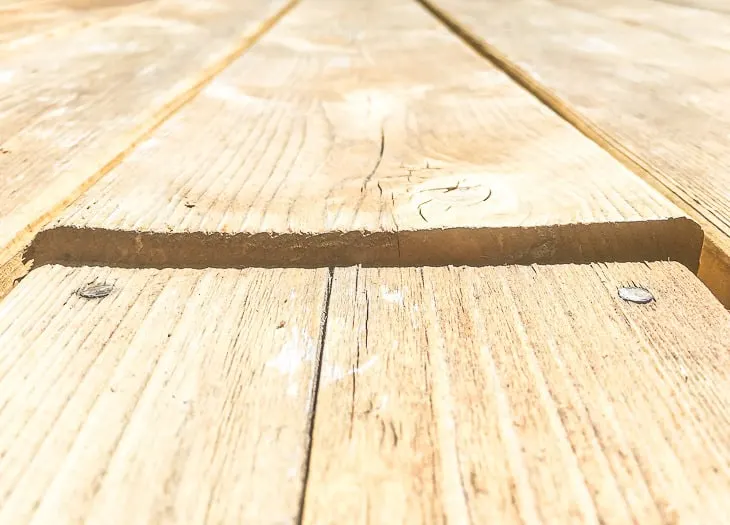
Before I go through all the effort of re-staining, I took the time to do a little bit of deck repair. By fixing these problems now, we'll be able to enjoy our outdoor space for years to come!
This post contains affiliate links for your convenience. Purchases made through these links may earn me a small commission at no additional cost to you. Please visit my disclosures page for more information.
Deck Repair Tools
These deck repair tasks can easily be done by someone with minimal handy skills. All you need are a few simple tools.
- Drill
- Nail puller
- Pry bar
- Nail set and hammer
- 2 ½" deck screws
- Scrap pieces of cedar or pressure treated 2x4
- You can also have your home improvement store cut a board into 16" pieces for a nominal fee!
Hammer down slightly raised nails with nail set
Run your finger over the surface of each raised nail. If the nail is above the surface of the wood but you can't get under the head to pull it out, you can hammer it back down.
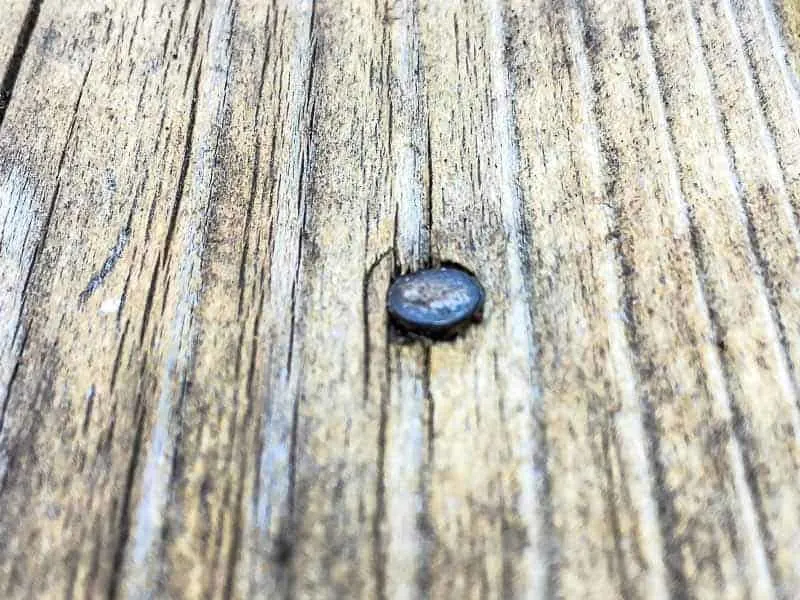
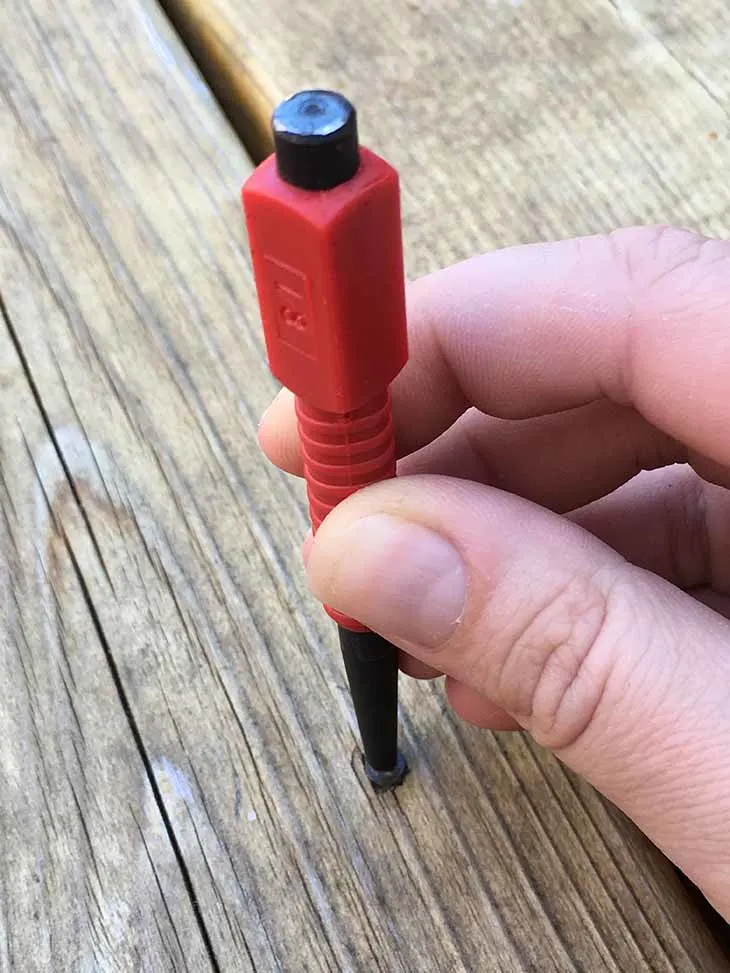
But don't go around smacking them with a hammer! Use a nail set to force the nail back into place without damaging the surrounding wood.
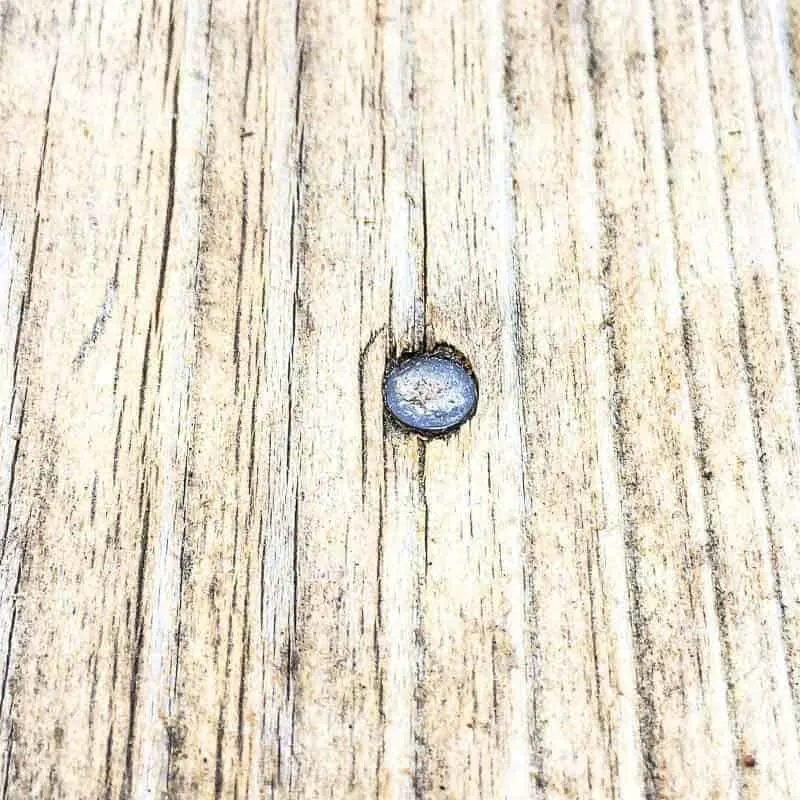
Select a nail set that is slightly smaller than the nail head. Place the tip in the center of the nail, and strike the other end with your hammer. The force will drive the nail back into the wood without leaving a mark!
Now you can't feel the nail when you walk on it with bare feet! It can also help straighten out deck boards that have raised up slightly because the nail has better contact with the joists below.
Replace popped nails with screws
Sometimes I would come across a nail that was protruding a good quarter of an inch above the surface of the deck. Ouch!

If I hammered these nails back down, they would probably work their way up again within a year or so. The wood fibers around the nail loosened with the changing weather, allowing the nail to move freely. Instead, I replaced these toe-stubbing, foot-stabbing nails with deck screws!
To remove the offending nail without damaging the surrounding wood, you'll want to use a nail puller like this. One end is thin enough to slip under the nail head and pop it up. If you're having a hard time getting it underneath, it might be better to nail it back down using the method described above. You don't want to gouge the wood trying to pull it out!
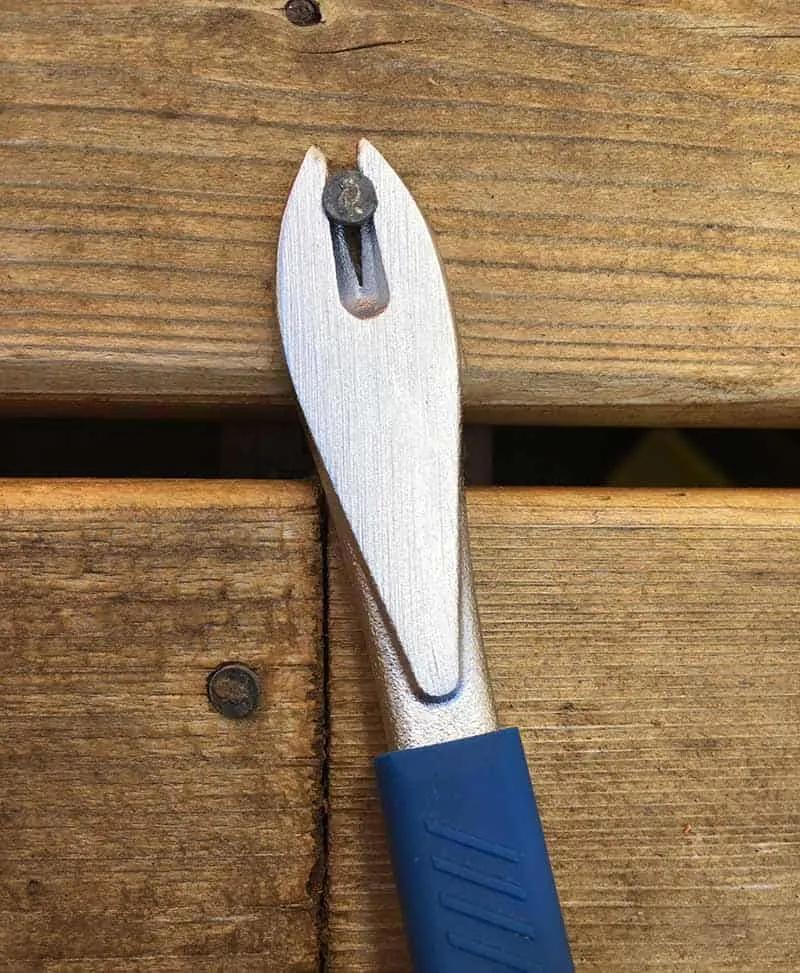
Once you've pulled it out an inch or so, switch to the other end of the nail puller or use a pry bar to pull it out the rest of the way. I used a wood shim to protect the wood from any indentation caused by the force of the pry bar.
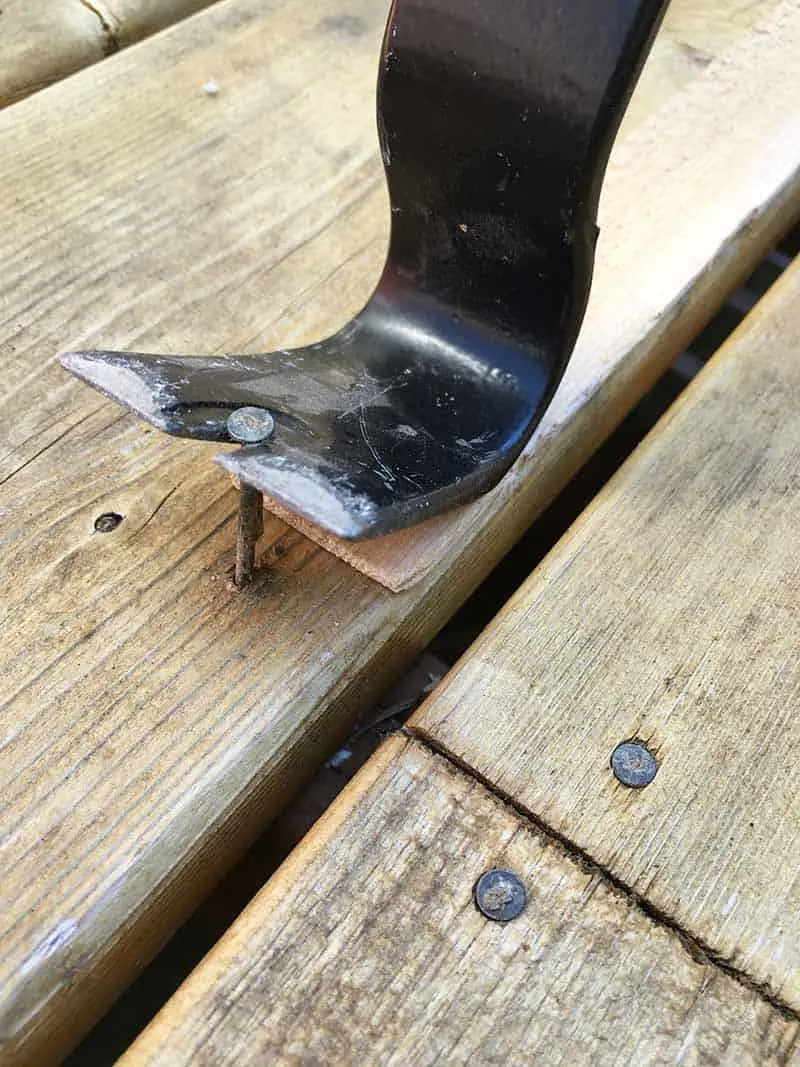
With the nail removed, you now have the perfect pilot hole for your screw. I used 2 ½" Deckmate screws in a color that matches the stain I plan to use later. Sink the head of the screw slightly below the surface.
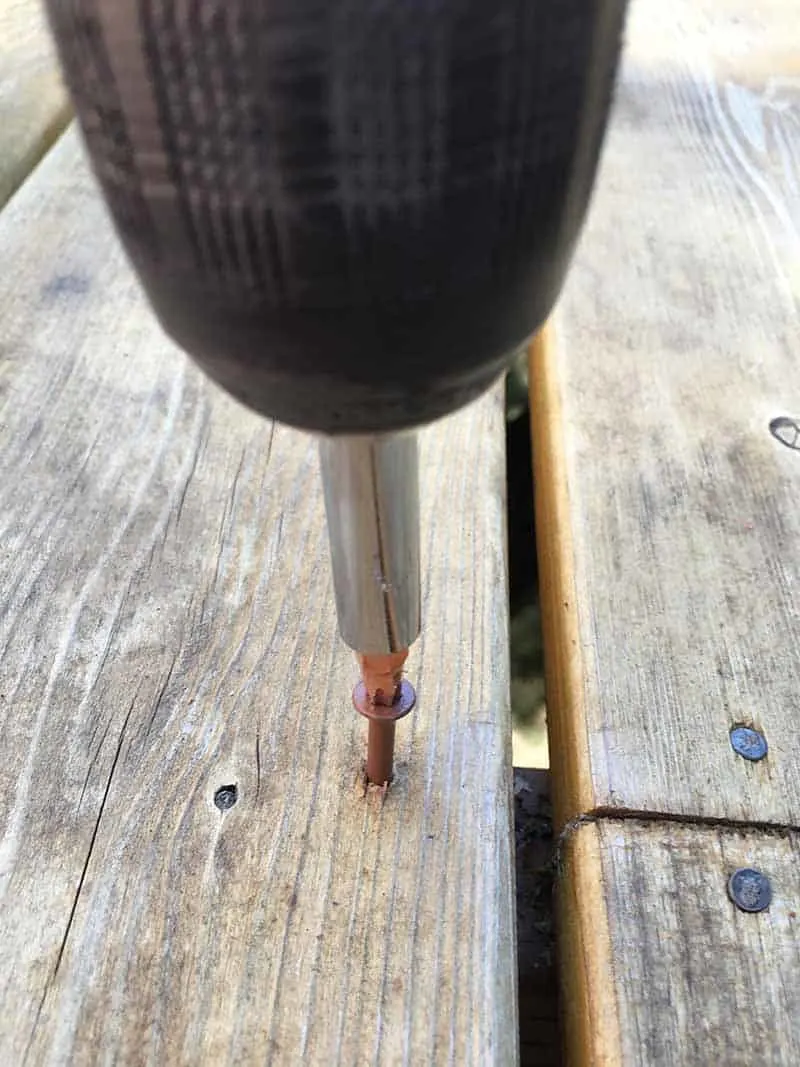
The force of the screw can help straighten out boards that are cupped along the width of the board, as well as warped ends.
Fix warped boards with extra bracing underneath
This trick only works if you have access to the underside of the deck. If it's only a few inches off the ground, or it's enclosed underneath, you'll probably be better off pulling up the old board and replacing it with a new one.
There are a few spots on our deck where two long boards meet on top of a joist. If the joint is slightly off-center, the nails miss the joist completely. (Please ignore the ugly, gross underside of our deck!)
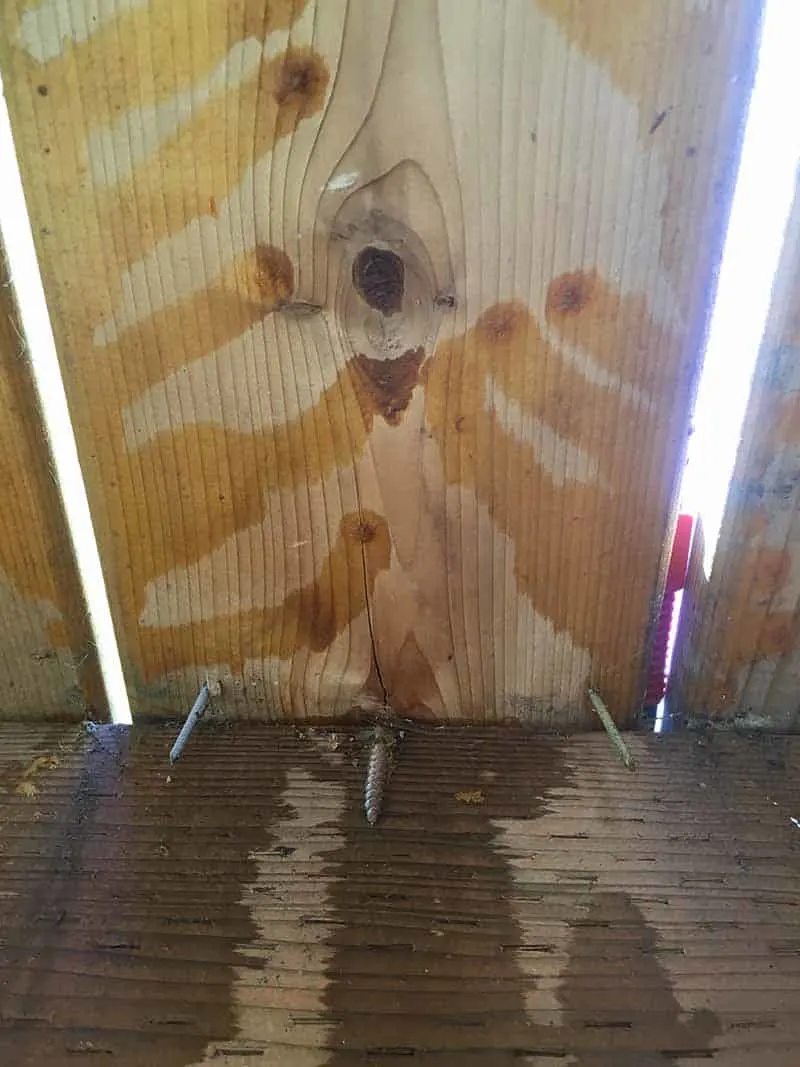
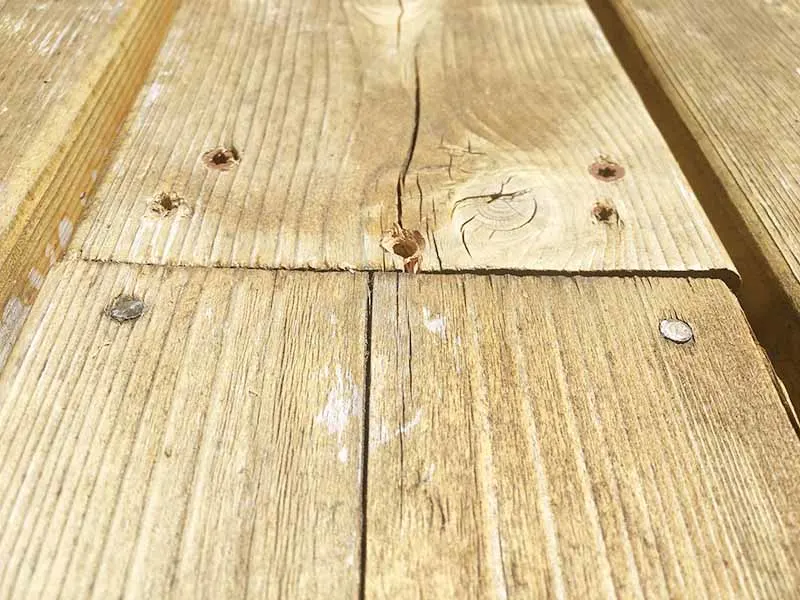
Over time, the end of the board that wasn't secured starts to curl up and warp. This one is right in front of our sliding glass door and has caused more than its fair share of stubbed toes and stumbles!
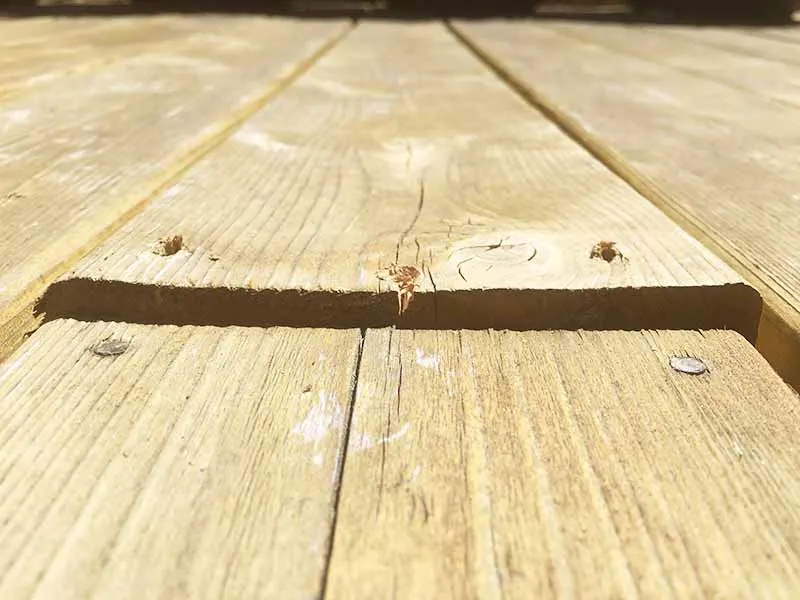
Hammer the nails up from the underside, then pull them the rest of the way with the pry bar. Then, cut a scrap of cedar or pressure treated 2x4 long enough to span the warped board and the two on either side of it.
Attach it to the side of the joist with deck screws. Keep the top edge tight against the underside of the boards on either side of the warped one.
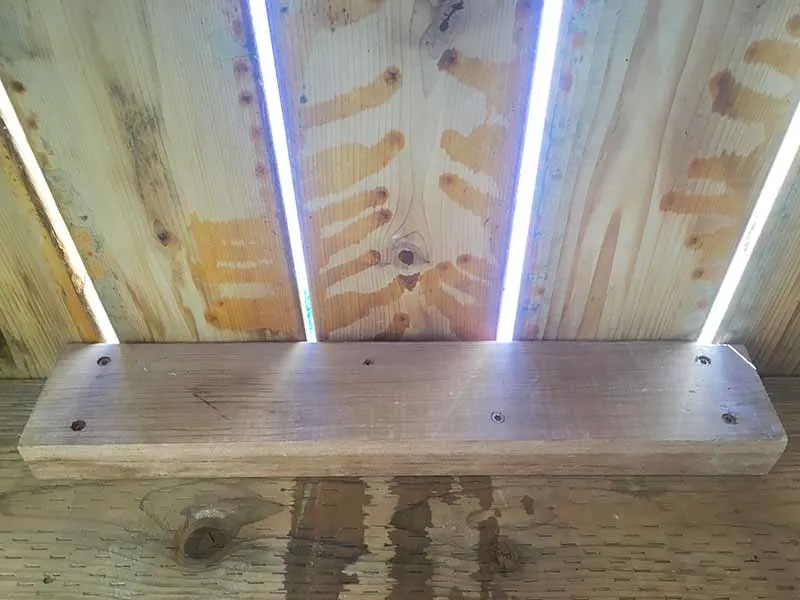
Now you have something to attach the board end to! Screw the curled board down into the new piece, going slow so it doesn't split. Voila, no more tripping hazard! I'll fill those old holes before staining.
Next Steps
With all the cupped and warped deck boards repaired, it's time to make the wood look like new again! Here's what to do next...
Deck Cleaner
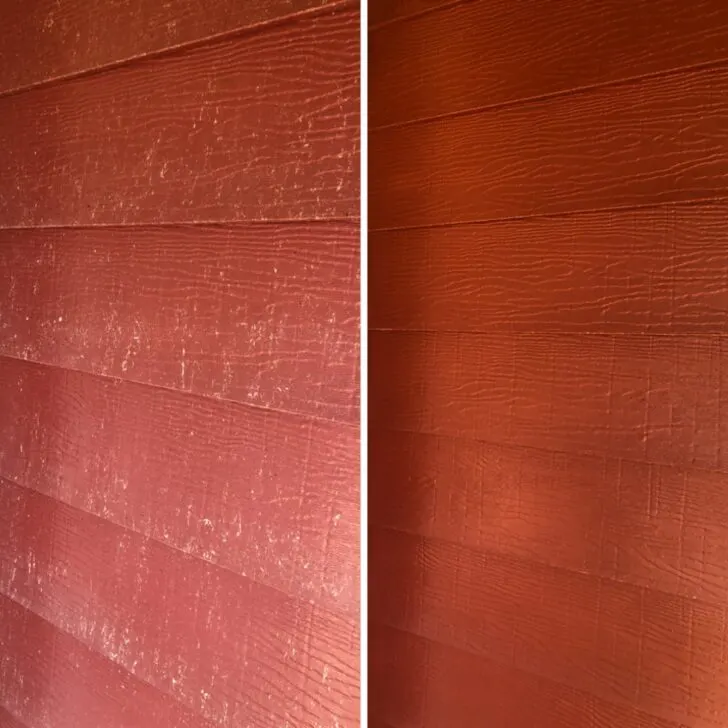
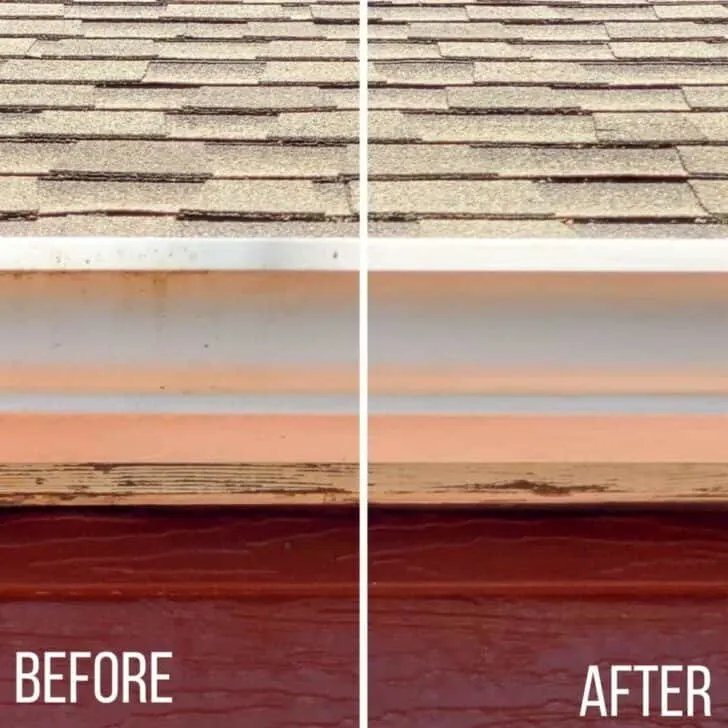
As you can see from these photos, the wood definitely needs a good cleaning! There's two ways to go about cleaning the wood of your deck and getting it ready for stain.
If your deck is in really bad shape, or you want to change the stain color, you'll need to use a chemical deck cleaner and brightener to bring it back to its natural state. A power washer is required for this process to remove the top layer of damaged wood fibers and old stain.
But if your deck is just dirty and has some mildew from a wet winter, you can use a homemade deck cleaner with a scrub brush instead. This simple cleaning solution is made with ingredients you probably already have under the kitchen sink. It does a great job bringing all that grime to the surface, so you can rinse it away with the hose.
Stain the Deck
After that, your clean deck needs a new coat of stain. Here are my tricks for staining a deck fast!
Check out these other outdoor home improvement projects!



Kristi
Friday 1st of June 2018
Did you know that when building the deck, each board should be examined at the end grain so that when observing the half-circle, the hump stays on top, like the setting sun. Otherwise, if laid like a U, the sides cup up. Same goes for other projects, picnic table, etc. Also, over the years, having learned a better, longer lasting method and results, most have changed to ONLY EVER using deck screws and power drills.
Vince
Thursday 3rd of May 2018
I had the same problems. Solution: Check out the Camo System for screwing in from the side edges of the deck boards. Awesome! No more nail pops... good luck!
Toni
Saturday 29th of July 2017
So many helpful tips, that nail puller is brilliant. Also it's very smart to install the brace under the deck where you needed extra nailing surface. The nail punch is such a great tool, we had to use one all over our house to set some nails in our subfloor before we sheathed over it for our hardwood.
Susanne
Friday 28th of July 2017
These are great tips! We are going to be working on our sad little front deck this weekend. I am definitely going to use your method for putting popped up nails back where they belong!
Tonya
Friday 28th of July 2017
Great tips but I'm kinda glad we have a screened in porch instead of a deck. Desks do require a lot of maintenance!!! Although screened in porches come with their maintenance issue's also.
Vineta
Saturday 29th of July 2017
When we were planning out the new deck, we thought about putting a roof over it to make it more useful during the rainy but warm months. Maybe when we add on to the upstairs, we'll tack it on. It IS a lot of work keeping it looking nice!